< help / Getting Started
Getting Started
Welcome to the MiniMeters Getting Started Guide. This guide will get you set up using MiniMeters in your workflow.
Installation
To begin installation, download MiniMeters from itch.io. If you’re using the demo you can simply download the correct version of the demo from here.
macOS:
- Download and open the
MiniMeters macOS.dmgfile.- Double click the
MiniMeters.pkgfile.- Follow the on screen instructions to complete the installation.
Windows:
- Download and run the
MiniMeters-Setup-v0.x.xx.exe- Follow the on screen instructions to complete the installation.
MiniMeters will install the CLAP and VST3 versions of MiniMetersServer as well. For more info about MiniMetersServer click here
Linux:
- Download and extract the
minimeters-linux.zipfile.- Place the MiniMeters.AppImage in a location of your chooosing.
- Optionally: Move the
MiniMetersServer.vst3Plug-In to~/.vst3andMiniMetersServer.clapto~/.clapif you wish to install the Plug-In.
Using MiniMeters for the first time
Once MiniMeters is open you can begin changing settings and customizing MiniMeters for your use case. This section will explain how to Select an Audio Device, Enable and Disable Meters, Rearrange Meters, and Pop Out Meters for custom layouts.
Selecting an Audio Device
The first and most important step is to select the audio device you would like to monitor. Each Operating System has different capabilites. MiniMeters tries to best support the features and limitations of each OS as well as providing alternatives to limitations some Operating Systems impose.
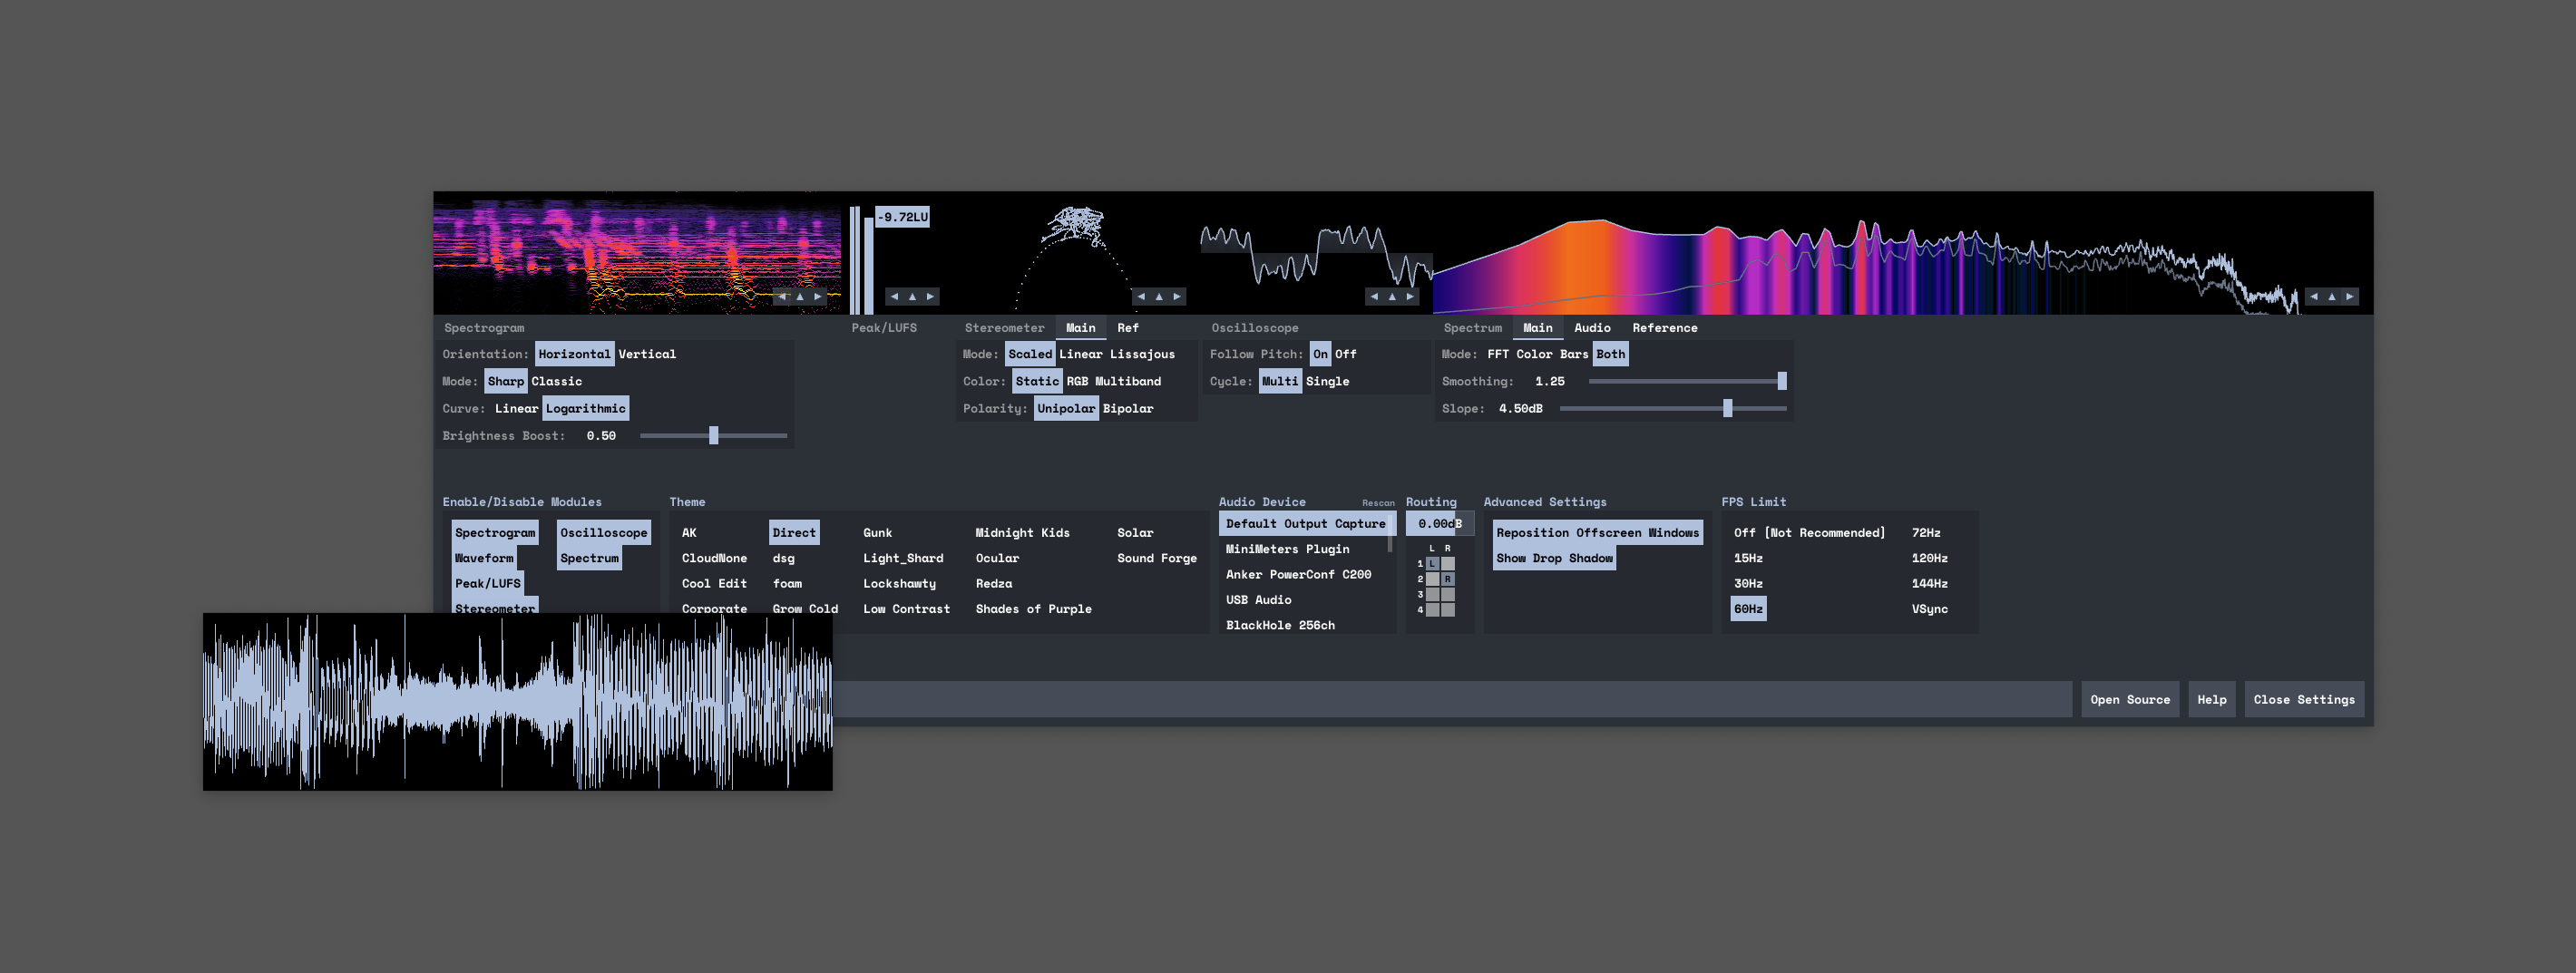
To begin, click the Settings button in the bottom-right corner of MiniMeters.

In the area titled “Audio Device” you can select which device you would like to monitor:
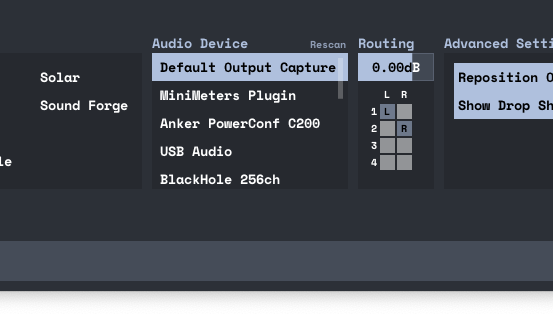
The most commonly selected option is Default Output Capture or Desktop Audio depending on your OS. Selecting one of these will capture your full system’s audio and display it on MiniMeters.
Limitations:
- If you use tools like SoundID or other room correction software it will also monitor the changes made my those tools which may be undesierable.
- Windows Users: If you use ASIO with your DAW, MiniMeters cannot capture your desktop audio while ASIO is in use.
To work around these limitations, MiniMeters includes MiniMetersServer a VST3, Audio Unit, and CLAP Plug-In.
MiniMetersServer:
To use MiniMetersServer, open your DAW / Plug-In Host of choice and insert MiniMetersServer on the Primary channel in your project.
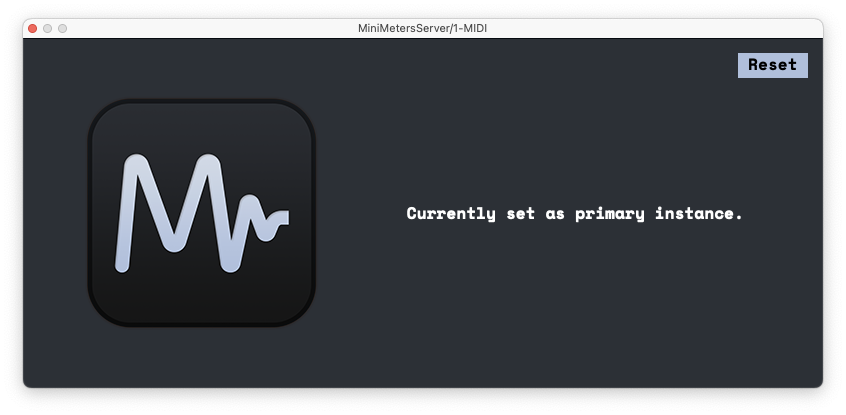
Next, select MiniMeters Plugin from the audio device list inside of MiniMeters.

Note: MiniMeters’s individual meters may appear frozen if the MiniMetersServer Plug-Is is not inserted when this is selected. However, MiniMeters itself is not frozen and can still be interacted with.
At this point, MiniMeters will be communicating with the MiniMetersServer Plug-in directly, bypassing whatever limitation you may have run into.
Enable and Disable Meters
To disable meters you do not want to use click the Settings button in the bottom-right corner of MiniMeters.

Next, click the name of the meter you wish to disable. This will hide the meter.
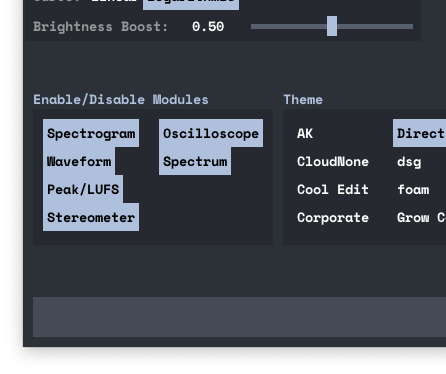 Clicking the name again will enable the meter once again and add it back to the layout.
Rearranging Meters
To begin rearranging meters, click Settings in the bottom-right corner of MiniMeters.

In the bottom right corner of each meter there are three buttons:

These buttons will from left to right:
- Swap the position of this meter with the meter to the left.
- Pop Out the meter (We will discuss this more in the next section of this guide),
- Swap the position of this meter with the meter to the right.
Popping Out Meters
While MiniMeters primarily aims to be a single horizontal bar, MiniMeters also has the ability to move meters to separate windows to create custom layouts.
To begin popping out a meter, click Settings in the bottom-right corner of MIniMeters.

In the bottom right corner of each meter there are three buttons:

Clicking the middle button (the arrow facing up) will remove this meter from the main layout and place it in its own separate window.
To place the meter back in the main layout, click the “Close” button on the popped-out meter.